Showing posts with label Textiles. Show all posts

5 March 2013

7 deadly sins samples

Here are my completes textiles samples that are linked to the 7 deadly sins...

Envy


Lust


Greed


Wrath


Pride


Sloth


Gluttony


oxo

4 February 2013

Georgia Hardinge

 I truly cant fault this woman's work, everything I have seen by her has caught my eye! Her work has a tie dye look to it and some reminds me origami as well as its very structured so it has a mix to it. All kinds or people love her designs including some famous faces like Beyonce, Florence Walsh and Alicia Keys. She hasn't just worked independently she has collaborated with a number of top brands! I just don't know why I haven't noticed her before now.


Georgia Harding A/W collections


Georgia Harding S/S collections


Collaborations  

Britain's next top model


Her illustrations were used on a limited audition Lancome bottle for the Diamond Jubilee


Victoria Secrets sponsored by Swarovski 


Up and coming..

River Island on a S/S13 collection, a short film will be featured during fashion week to launch this collection. I will certainly be keeping my eyes well peeled for this!


oxo

p.s I would love one of her scarfs!!!

16 January 2013

Lace making

Equipment
- Domestic sewing machine
- Embroidery hoop
- Transparent/dissolving fabric
- Thread

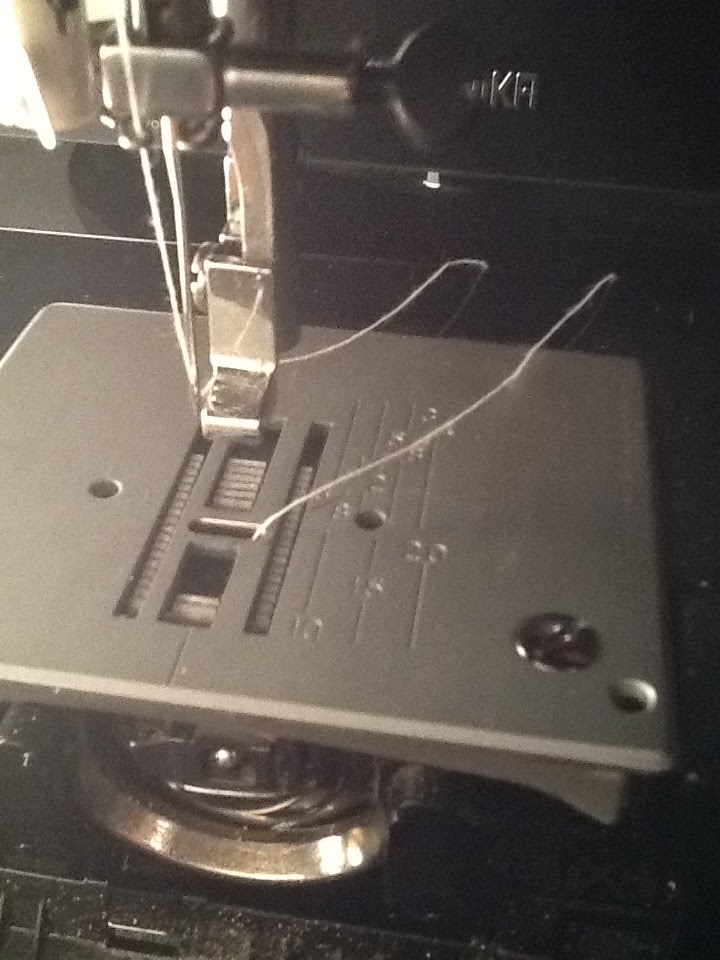
Thread the machine as normal but make sure the teeth are down, this will stop the fabric from ripping. Also the foot needs to be off so that the hoop can fit underneath the needle


Place the dissolving fabric into the embroidery hoop


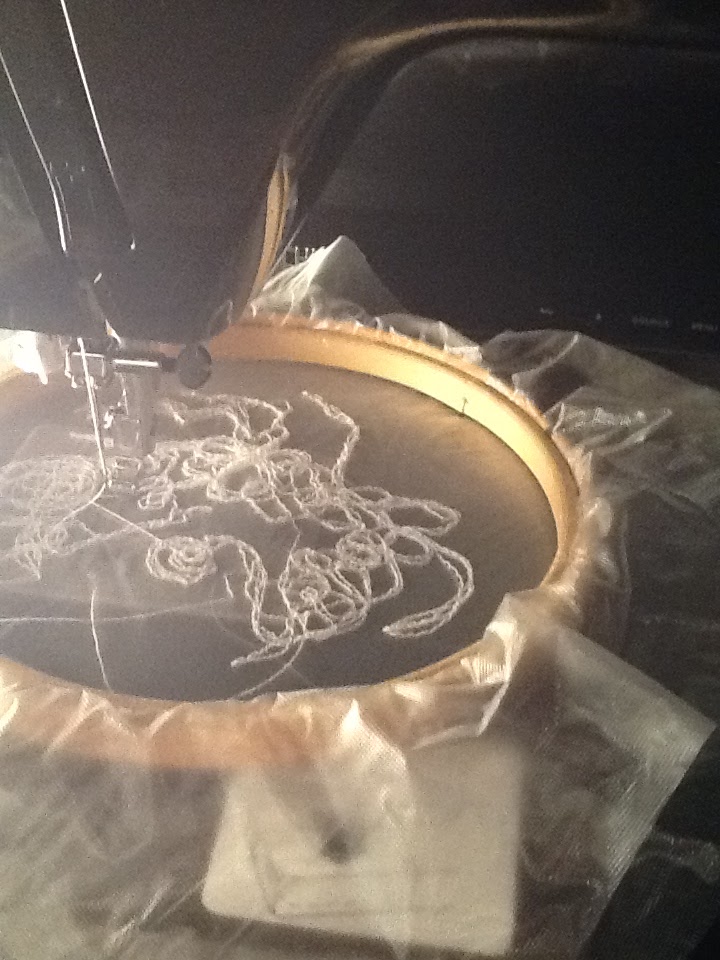
Once the embroidery hoop is placed under the needle you are free to make any design you wish to! Be totally creative


Heres my final design I based it on flowers and the way they grow freely. Once you have got to this stage you need to release the dissolving fabric from the hoop and place it on a plate. The plate is used so that when you run the dissolving fabric under the warm water the lace doesn't run down the plug! 

Make sure you use warm water not boiling and you don't drown the tread as it will just wash away. 

oxo

19 December 2012

Pattern cutting- 2

So carrying on from last week (see in this post) we were continuing to pattern for our 60s inspired dress. I had finished patterning the basics and was onto the features.

Pleats in my skirt


1. This is where I was up to from last week, which meant I needed to finish off the 3rd pleat and do a final pattern for the front of the skirt and start the back pattern.


 2. The finished pleats. To create the pleats you have to draw out the skirt pattern with your pleats drawn in, cut down the line of the first pleat, leave a 1.5cm gap and draw a line. Then fold over the pleat onto the line you have drawn and do that 3 times. 


3. Once the pleats were complete we needed to draw out the final pattern pieces which meant we needed to iron out the pleats so that the paper is flat, by doing this it allows you to get the right measurements. To get the final pattern we had to trace around the pattern piece then add a 1cm seam allowance.


4. When drawing out the pleats we needed to make sure we didn't draw every line, to make sure I never did that I labelled them with stars. But without the starts I remembered which lines we needed to draw by thinking  'just the ones we stuck down' haha.


 5. When we first started patterning I decided I would have pleats in the back of my skirt as well, that meant I had to repeat that task again to the get the same outcome for my back. This is what my final pieces look like.

Neck facing 


6. The next feature of the garment we needed to do was the neck facing, which is used to make the neckline look more slick and tidy and its also used on the back of garments. To pattern for one of these it's really simple all you need to do is draw a curved line 5cm down from the neck line making sure it joins with the shoulder. 


7. It's really that simple!! then you have to trace it to get a final patter piece and add a 1cm seam allowance around both the corners and the top leaving the bottom line free of a seam allowance, then you need to go a head and add you 3 lines of information- we did this by adding our names, what the pattern piece was called and how many times we needed it cutting out. We also needed to makes sure we had added a grain line and to make sure if we needed C.F line we put one in. 

Sleeve


8. The last feature we needed to pattern was of course the sleeve. To do this it meant we needed to draw around a sleeve block. To start with we needed to check if the sleeve would fit our pattern, once we had drawn around the outline of the block then we needed to draw in the underarm line (the 1st line) and then the elbow line (3rd line) making sure we had traced in the notches. Next came choosing how long we wanted the sleeve to be, I decided I didn't want my sleeve to be a little cap sleeve I wanted it to be a little bit longer so I draw my line at 8cm from the underarm line. To get a final pattern for this we had to trace the shape of the sleeve to the line we had drawn (mine being the 2nd line) then adding a 1cm seam allowance all the way around and putting the correct information on to it. And voilà, my first dress pattern!!!!! Now for the cutting..


Cutting the pattern

When choosing my fabric I had in mind using a pattern for some of the features of my dress for two reasons 1 being, I want them to stand out and 2 being, I don't want to be boring haha. So with these thoughts in the back of my head when I seen this tartan I couldn't leave it behind as recently I have a love for everything tartan. Literally everything I own seams to have the pattern on from my trousers to my shoes to my scarf (don't worry I don't clash them all together).


9. Here is one of my neck facing pattern pieces pinned to the fabric I am using. When cutting out a patterned piece you need to make sure the peiece is pinned down in the right place making sure it is properly flat, also you need to look out for the information wrote down on the piece and follow the instructions. A big thing also is to save fabric!!! It isn't CHEAP. SO by placing the pattern pieces on to the fabric in a way so it saves helps a lot in industry as it brings the manufacturing price down. 

  
10. After I had cut C.F neck facing out from pattern piece, I placed my other pieces on in a way that has left me with at least half of my fabric left! Which makes it worth while as I can now go onto use it for something else.


I got up to the point of pinning down the final dress pieces so after the christmas holidays I will continues to cutting out the pieces and start manufacturing (exciting!!)

oxo

18 December 2012

David Bradley


David Bradley is print textiles designers who has a complete obsession with colour and pattern- which you can see straight away from his work. He is inspired by illusion which also comes across pretty strongly in his work. He uses techniques such as screen printing and dye to create his fabrics while he also uses pleats throughout all his fabrics, by doing this he achieves movement around the body through surface decoration. 

He lives and works in London and in 2011 he won the Texprint award for producing fashion fabrics. His work has featured in magazines such as British Vogue, AnOther magazine, Dazed and Confused, Tank and V Magazine. His work is also on show in London, Milan and Shanghai.

I really like Bradley's work because of the bright colours and the way the fabrics drape. The pleats really pull the fabric together to create the full illusion that he try's to capture. By the way he places the fabric, it looks as if it is delicate and extremely light weight. 

I think I might give using pleats in a fabric ago to create my own illusion...

oxo

TTTTT Textiles


Textiles, is my new brief all summed up into one word!

So last week we got given a new brief and is based around textiles so it involves a lot of fabrics and patterns. It is also linked with the task of researching the 7 Deadly Sins for our final garment for the end of year fashion show so thats exciting as I will be developing ideas for my final designs.

We will have to look into shape development which I have already covered back in the summer when I went to college for a 2 day taster session, so it will be good to recap that as I learnt a lot on them 2 days.
Im looking forward to learning lots of new techniques and skills throughout this brief as I have never really looked in textiles properly, so here goes!

oxo