Showing posts with label Pattern Cutting. Show all posts

27 March 2013

Pattern cutting- 12


My finished shirt dress before I took the cheese greater and bleach to it! Also I haven't added the buttons yet.

FEATURES 


As Im interest in looking at the whole deconstruction/construction and distress concept I decided I would bring that through into this dress design. I have used hessian as a thread to put through belt loops I have placed in irregular places with plastic buckles to add an industrial and edgy feel. Also with the hessian thread I decided to add a cross square (the stitching) to each end of it as it gives it stronger support, this is a shape that you most commonly found on luggage bags! This also links to having the buckles as they are used in luggage as well. Im happy with the over look for the garment an how its coming together but just Im not sure on how the waist belt is placed on the dress (see on photos above) but I think I'm going to keep it then on the shoot and when styling I can play about with it. Ill keep you up to date!!!

oxo

23 March 2013

Pattern cutting- 11

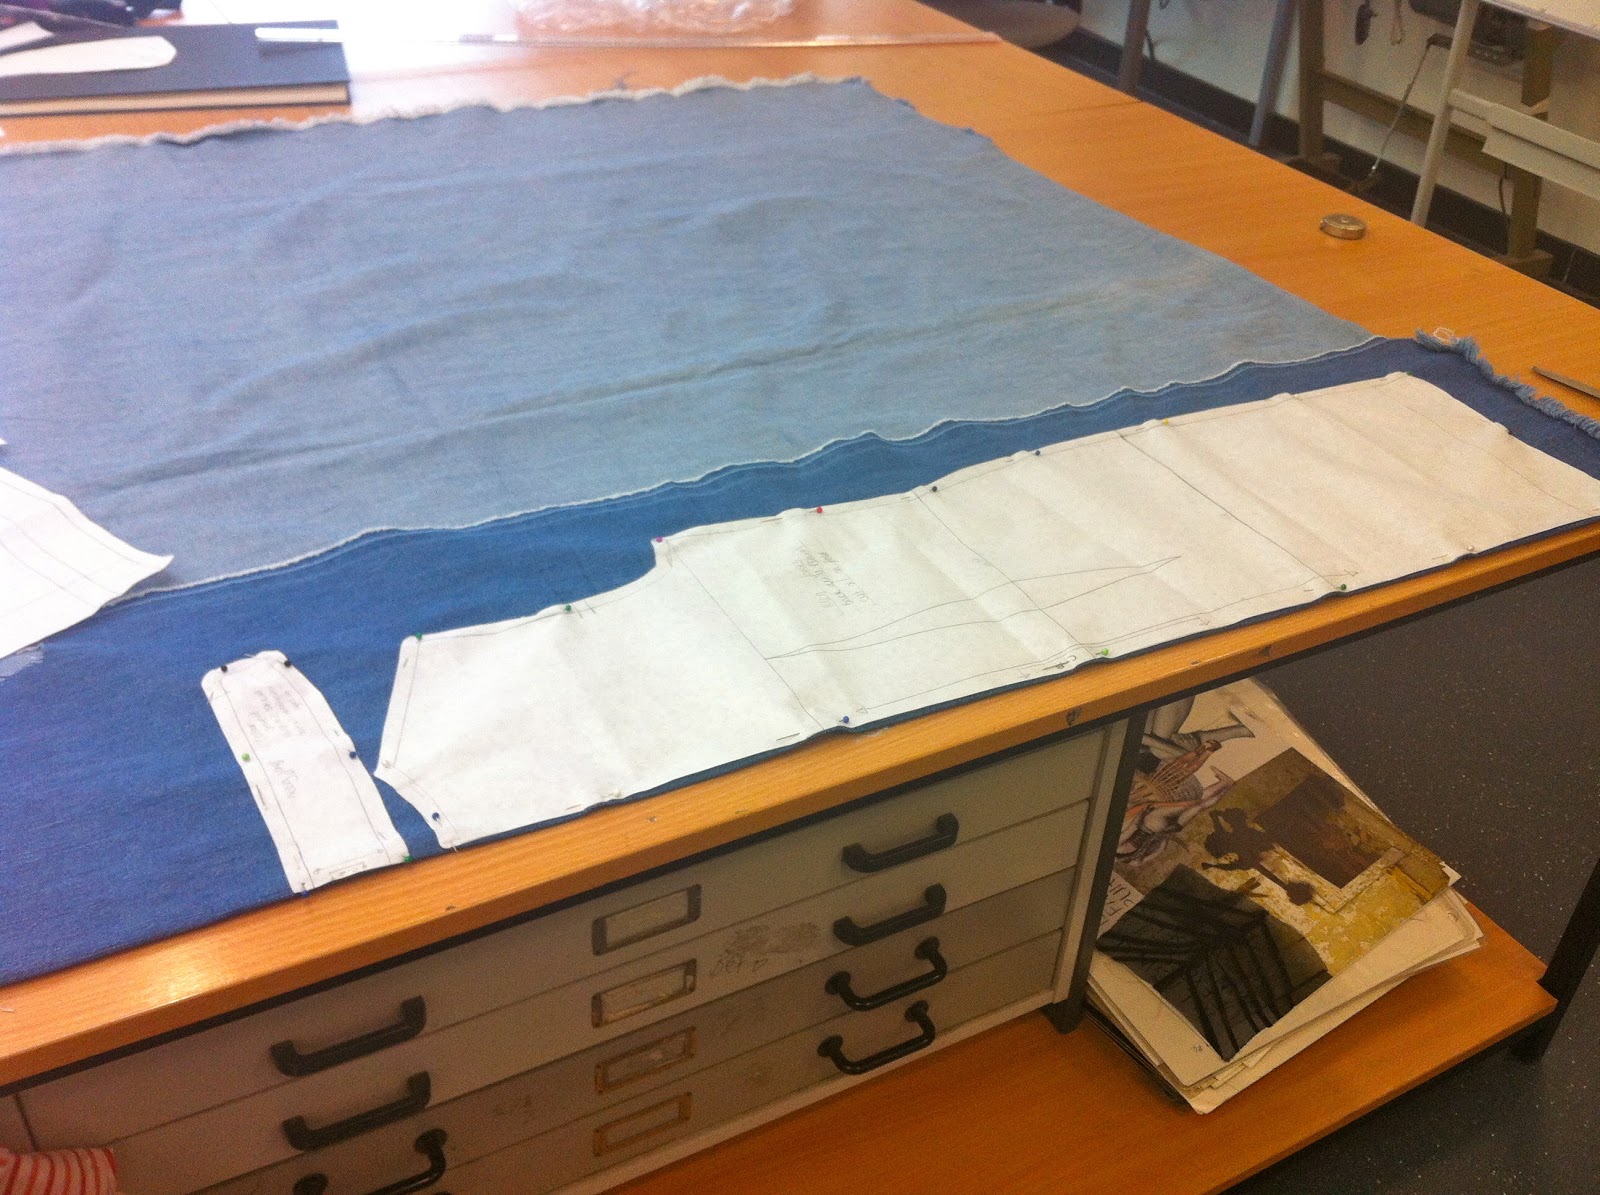
Cutting out

When cutting out the fabric I seemed to confuse myself an awful lot as I wanted to do it so different parts of the dress were in different fabrics but in the end I got my head around it and it turned out all ok.


The dress dart

This was the first step of manufacturing the dress

 The back

 The front


The bust dart

With the bust dart I had to shorten it by 2 cm as it was to close to the dress dart and it was creating a point which isn't what we want.


Button stand

First of all I had to cut out two pieces of interfacing to make it stronger for when the buttons are applied. The next stage was to iron down a 1cm seam allowance then join the notches at the top together.


As my inspiration for my dress is a pair of jeans I have decided to do a double running stitch to give it the same effect.


Attaching the shoulders


Sleeves

I have decided that I don't want to hem my sleeves as I want them fray so it gives the dress a worn and distressed look. This is why I have done a 1cm stitch along the bottom so that it doesn't fray further than there. 


Collar

Creating the collar is like a sandwich first of all you have to construct the collar and I have done another double stitch on top so it looks like a pair of jeans. Then the second step it so get one half of the collar stand and attach it right sides to right sides. 


With the other half you have to do the same but to the opposite side


When finished you have to make sure that it is all ironed down flat inside, so that no bulk is showing and is ready to be attached to the dress.

oxo

6 March 2013

Pattern Cutting- 10

Shirt dress

Today I started patterning for my third dress and its a shirt dress! As its a semi fitted style dress we had to trace around the dress blocks to get the correct shape


Making sure all the correct details are labelled


I decided I wanted to move my dart so I drew a line where I wanted my new dart to be


Using the slash and spread method I moved me dart creating a new one under the arm line


As its a shirt dress we needed to a add a button stand and a placket 


Onto the collar, we followed a pattern from the pattern cutting book which was easy to follow. The first daft is drawn together like a rectangle 


I had to slash and spread the collar by 0.5cm in order to get the correct curve 


For the sleeve I decided I wanted to have a sweet heart styled sleeve, so I had to trace around the sleeve block and then make sure it fit into my pattern. It was a little big so I had to adapt it to fit


My sweet heart shaped sleeve drawn out


Final sleeve patterns


Final collar patterns


Here a faced the problem which was drawing them to close together as there wasn't enough room for me to add on my 1cm seam allowance


Finally final collar pattern


Final dress pattern with 1cm seam allowence


Now my task is choosing the material, I think I want to go for a more sophisticated look with this dress rather than making a statement. 

oxo

5 March 2013

Giles Deacon shoot

Disaster Disaster!

Well after slaving away getting my dress finished in time for my shoot today I faced a massive problem which set me back about a million times. I stupidly never checked the heat of my iron at homw when going to do the hems and melted the fabric! So my relation with the iron is no 0 and I have no self confidence with it at all. So this morning as soon as I got to college I got straight onto it and re patterned that piece, and I managed to fix it and do all the hems in time. So by now the disaster was over and I got cracking on the make up and hair for my model, I decided I wanted really natural hair and natural makeup just with a bright lip to give it a pop.


My model, Jen in my dress


 Which socks to choose


Make up look- bright pink lipstick

A few snaps from the shoot! Ive got more to go up tomorrow then I will reveal the final images when I decide to use to you all soon.


oxo