Showing posts with label Planning. Show all posts

21 January 2013

UPDATE


So I have come to realise I haven't updated you all with my work progress for a while! So here you are...

Up to know I think that my college work is improving everytime we get a new brief, which is what I enjoy most and watching how my work changes. I also like the excitment I get from trying out knew ideas and developing ideas further. This weekend the UK has been covered in head to toe in snow, yes I couldnt resist going sledging but its just been a pain and not allowed me to go to places I have wanted to be! But I suppose theres been worse care scenarios and I should really stop complaining and just get on with it as I have lots of things to look forward to, such as some trips, event and of course London Fashion Week with college! I just cant wait.

Here is some of my textile samples I have been creating as part of my textile design brief.....


 Knitting
with rope

with wool- the grey was my 1st every sample of knitting so please excuse the wholes haha
Printing

Lino
 Lace


Sashiko 


 Manipulating fabric


 Origami and Elastic bands


Hand embroidery


Recycled materials


Heres a sneak peak at my shape development work for my first seven deadly sins thread... can you guess which sin it is?


oxo

9 January 2013

Fashion Design cycle

That image doesn't look very eye catching at all- boring

Since being given the task of researching about the design cycle I knew I had read about it before could remember where and I was determined that I couldn't mix it up with the product design cycle which I already know all about. The last few weeks I have been searching for this one book at home and tonight I have found it!! (sigh of relief haha) And over all of the internet I couldn't find it in a clearer way (not only the diagram) which has proved to me that the cycle is almost like a hamster wheel haha. (A quote from the book not me!) 

The book I got it from is called Fashion Design and its by Sue Jenkyn Jones. Im made up I found it as its got everything in such as pattern cutting, the history of fashion, all about fashion capitals, marketing- basically a little bible. Im actually surprised how many book I have on fashion, could start my own library but there just so handy and helpful to have.


oxo

12 December 2012

Pattern cutting- 1

Today we started patterning for our first dress which is a 60s style dress. The design of the dress is a loose fit with a flared skirt that goes out below the hips, the features of the dress are going the be the short sleeves, the lined patch pockets and the pleats.

Moving a dart, adjusting the shape of the dress block and drawing pleats


To be able to do any of theses task I needed to use my dress block which is size 12 that I made a couple of weeks ago, my set square and a sharp pencil and a rubber.


 1. To start off we needed to draw around our dress blocks (front and back)adding in the waist line and hip line making sure they were labeled. We also needed to draw in the two darts on the front block and the back block.


This is what it looks like when you have done the basic outline and not added the dart.

Adjusting the block shape


 2. For the dress we are creating we needed it to be a loose fit so this meant we needed to adjust the fit of the block as its drawn to be a semi fit dress.

To do this we needed to aline our set square with the hip line and draw it straight up to the arm whole, this was carried out on both sides. We then just scribbled out the line we didn't need as this is just out 1st draft.


both sides done

 Adding pleat lines


3. Before adding the pleats onto the pattern we individually needed to decide how long we wanted our dresses to be, I chose for mine to be below the hips. 

From the hip line we drew down as long or short as we wanted it and squared it off. The bottom line is where the pleats are going to be places. Also in that square is where the lined patch pocket is going to be placed.

To add the pleats we had to decided where we wanted to place them , its best that they aren't to close the C.F (centre front) as they wont sit right. I chose mine to be just over half way, they needed to be 2 cm a part from each other in order for them to be equal.If you wanted to pleats on the back block you could,I chose to do this as I think it will add an extra feature to the dress.

Moving a dart


4.Moving the dart is easier than it looks! Working from the point at the end of the dart, we needed to draw a line to where ever you want the dart to be placed. In my case I needed it to be a bust dart so I drew to the left hand side (its best keeping it a bit away from the arm whole as it will get to bulky when the fabric is sewed together)

This is what my new dart line looked like

What my pattern looked like up to now.

5. The next step was to get a new piece of paper and trace out the outline of the block from the 1st draft (do this for front and back), we needed to make sure we had all the correct markings, including the c.b and c.f and the waist and hip lines labelled. the new dart line and the old dart needed to be drew as well. 

After this step we cut along the new dart line on the traced version of the block. Once that line was cut straight we then folded it over so that the old dart couldn't be seen any longer. 

like this...   


6. Stick a piece of masking tape to hold it down. This has moved the dart to under the arm which is where it needed to be to create a bust dart.

 What the old dart should look like


Back dart


7. To cancel out the back dart you need to measure the shoulder width on your block. From that measurement you need to cancel out 1cm from the arm whole corner, and then joining the arm whole with shoulder by using your set square to get it a lined correctly (see image- right hand side). Once this is done you can scribble out the dart as it know longer exists

Lined patch pocket


8. Under the hip line is where the lined patch pocket is going to placed. Its up to you where you choose to place it but again like the pleats its best kept away from the C.F line. I chose for mine to be placed above my pleats. 

All you need to do now is draw out a square depending on how big or small you want your pocket to be and curve over the two bottom corners to make it look like a pocket.

What it should look like

9. After we had drawn the square of our choice we got some more paper and traced the outline of the pocket so that we could make a final pattern for the pocket.


Traced out line


10. Around the traced outline we had to use our set squares to draw a 1cm seam allowance around the pocket shape.


The final lined patch pocket

11. We then cut around the 1cm seam allowance cutting neat around the edges. The arrow shown down the middle of the pattern represents the grain line. We then had to fill it up with information which included our names, what the pattern piece is for.. so in this case it was a lined patch pocket, how many times it needed to be cut on the fabric (also known as shell) and how many times it needed to be cut on the lining as it's a lined patch pocket.

Next week we will be continuing with this pattern cutting task!! 

oxo

11 December 2012

Comparing shoots and outcome

1st shoot


2nd shoot


Final shoot


Well, we've come to end of our styling brief :( and at first I couldn't understand why the 2nd years liked this brief so much but looking back over it I've really enjoyed it myself and I would happily do it all over again, I think I enjoyed it because I was able to create things and let my ideas just flow (also I was able to let my inner bossiness out).

My first ever ever fashion shoot was my Vintage/Tank shoot which I worked with a partner to do, I enjoyed doing this task as we were able to bounce ideas off each other to create better outcomes and a lot more ideas for our work. I also found this shoot good because we had a longer period of time to sort things out and plan all our ideas out which allowed use to have a set of strong images. 

The Le Ballon Rouge shoot was the 2nd shoot and the day we got this task I had such a head ache and I was going away to London that weekend so I was in complete panic mode.. On the train that night I don't think I shut up about it all the way to Euston!! In such short amount of time we had to plan and prep and get everything we needed was stressful but an enjoyable stress if thats possible? I think considering the time period we had to do this task, I think my outcome is strong and in the future I hope to make them even stronger as this idea is unique to it's self. With the 1st shoot being completely different to this shoot, I found I liked working by myself a little bit more as it allowed me to be a tad more creative with my ideas but I did enjoy working in a team because for the theme we had our ideas grew stronger together.

The final shoot was my least favourite at the time but now looking at my outcome, it is my favourite haha. I thought for this task we would have longer to plan and prep as it's the 'final outcome' and all that but hey what was I thinking?!?! NOPE I had 4 days to do absolutely everything... which yes included making the jacket, I think at some points blood, sweat and tears where added in to the coat!! Then on the day my model didn't come and all that jazz but in the end it all figured out and worked even better than I had originally planned so fate was on my side. I enjoyed this task a lot as it allowed me to play with ideas and create something into real life. 

I really cant chose which shoot I enjoyed most as I liked them all the same and I liked the challenges I faced whilst they took place! I did learn a lot from this brief such as always consider the target audience, colours have a meaning, images in magazines have a story behind them and always express and write down your ideas. So yer Im sad/happy to be leaving this brief behind as I have enjoyed it but I am looking forward to see whats up next, I might even make some of my own shoots.... Or I could even end up as stylists, who knows. 


oxo

4 December 2012

Painting shoot

First stage of the hair


Left side

Back

Right side

Final hair


Final make up

On Shoot


Here is some footage from my shoot! (Spoiling you, I know)


Instagram picture


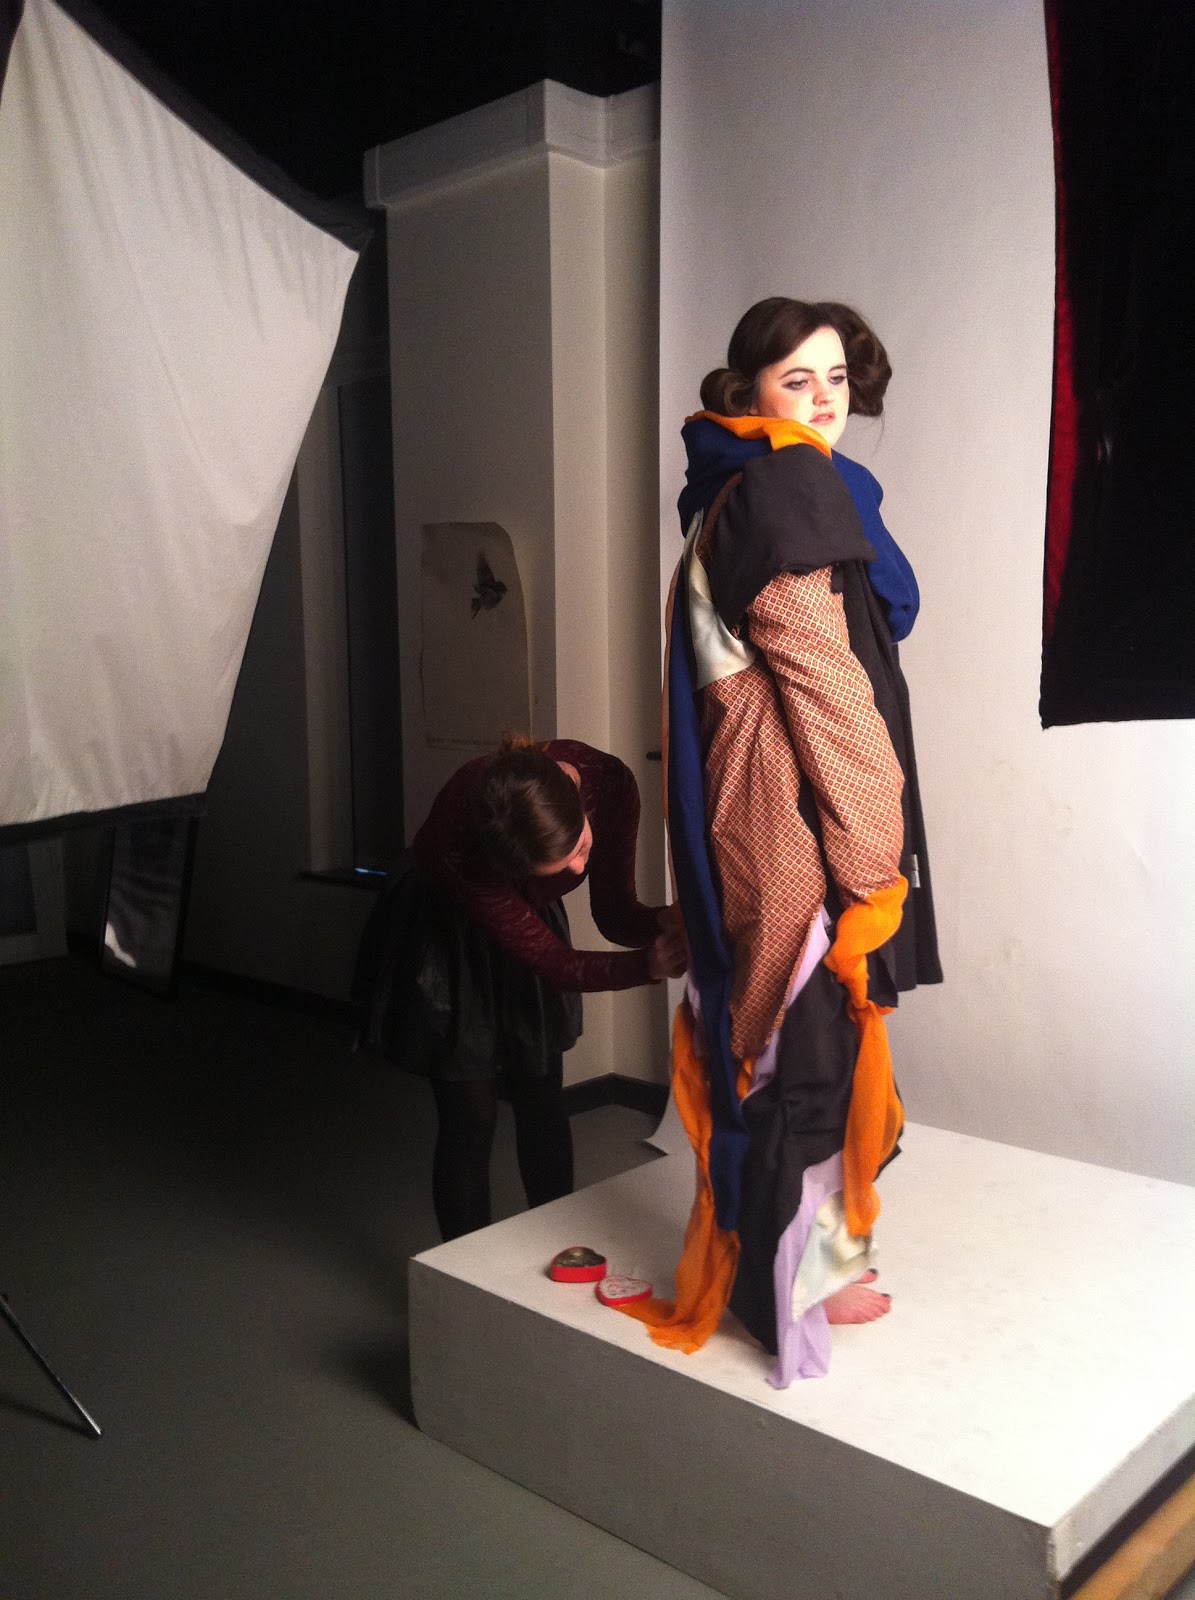
Well, today was one of my favourite days so far in college! I had everything prepared ready for my shoot so there was no stress there until things got all mixed up with my model and my friends model had to step in for me so thank you Georgia! Overall the shoot went extremely well, the hair and make up worked out as planned and up to now I cant think of anything i would have changed. With being so prepared and ready since having the discussions with my photographers my shoot really didn't last very long and the 1st image they took was spot on. Im really looking forward to seeing the final images, all i have to do for now if seen the background to the photographers so they can do all the photoshopping and what not haha. Keep a look out for my final images! 

P.s I love styling!!!!

oxo