Showing posts with label Manufacturing. Show all posts

30 January 2013

Pattern cutting- 7

Giles Deacon A/W 2007- The Troubadour 

 
The pattern


Today we finished off our 60's style dress (thank god) and have been given a new live brief- what is a live brief? I had no idea before hand as well, and basically its a brief that is online and its competition! 

The brief is a dress pattern that Giles Deacon the British fashion designer has put online on Showstudios.com for you to download and create your own version of his garment that he used in 2007 for his A/W collection. You can adapt the pattern to how you want it and you can use whatever fabrics take your fancy and you can be as innovative as possible. Once you have manufactured the dress you then have to then publish it online and wait to see who's the winner! Giles and his team will pick a garment to then feature in an exclusive fashion film!!!!

So today consisted off printing out all the information for this brief and sticking the pattern pieces together and cutting them out. So now Im ready to go and buy some fabric, but I really cant decided what colour or fabric I want to go for (hmmm). Anyway I best hurry up and decide as we only have 2 WEEKS to make this garment.. I MEAN 2 WEEKS!! As after the 2 weeks are up we are then going to photograph and shoot/style the garment ready to be published online and entered into the live brief.

oxo

Pattern cutting- 6

Topstitch around the skirt


Here I just did a stitch all the way around the skirt to give it a nice finish, it was a normal stitch as close to the edge as possible.

The facing


Firstly you have to attach interfacing to the facing pieces by cutting out the same sizes as your pattern pieces. Then iron them onto the wrong side of the fabric. Once thats complete a simple overlock of all the sides besides the top needs to be done 


When the previous step has been carried out on all 3 pieces need to be attached by a 1 cm seam allowance right down the corners


It should fold up like this and look like this open...


Press open the seams to create an open seam


The next time I do a facing for a garment I am going to put it together in a different way so that it is all levelled out correctly.


The next for the facing is having to attach both corners of the facing to the zips using a half zipper foot


You have to pin the facing to the garment just like attaching the skirt to the dress.

Finished facing


When I put the finished dress on the manikin I noticed that there was a fault with my zip and I think it was because of the manufacturing of my zip as the material wasnt the best to apply it to. To adjust this all I needed to do was unfold the facing a re stitch a bit more the zip under.


Completed facing


Adjusted zip


MY COMPLETED 60's STYLE DRESS


oxo


9 January 2013

Pattern cutting-3

Continuing our 60s dress was todays task which meant I was ready to start manufacturing as I had cut out all my pattern pieces from my material.


Before cutting the pieces out I had to pin the pattern in the right places on the material.

 Manufacturing

1. Sewing the dart- to do this it meant joining the two notches together and stitching down towards the dot drawn from where the pin was place on the pattern piece making sure you come of the fabric with the stitching at the dot point.


 Finished darts


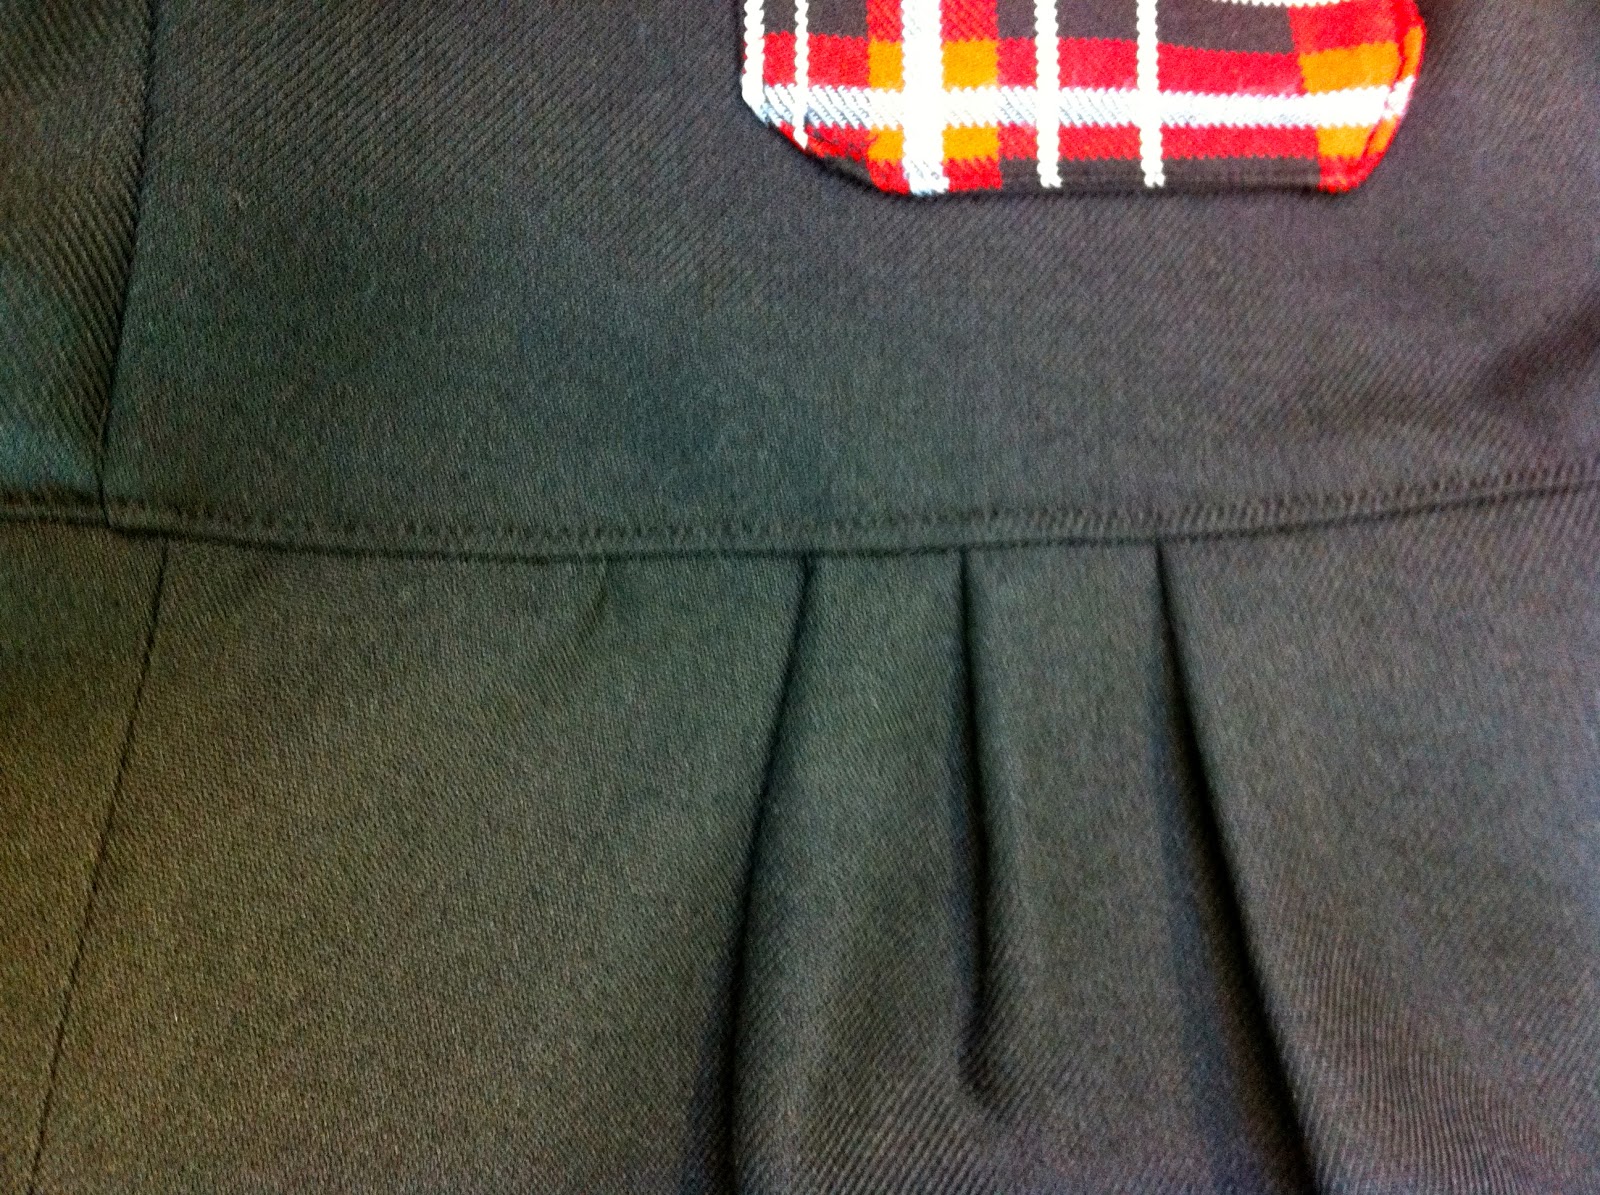
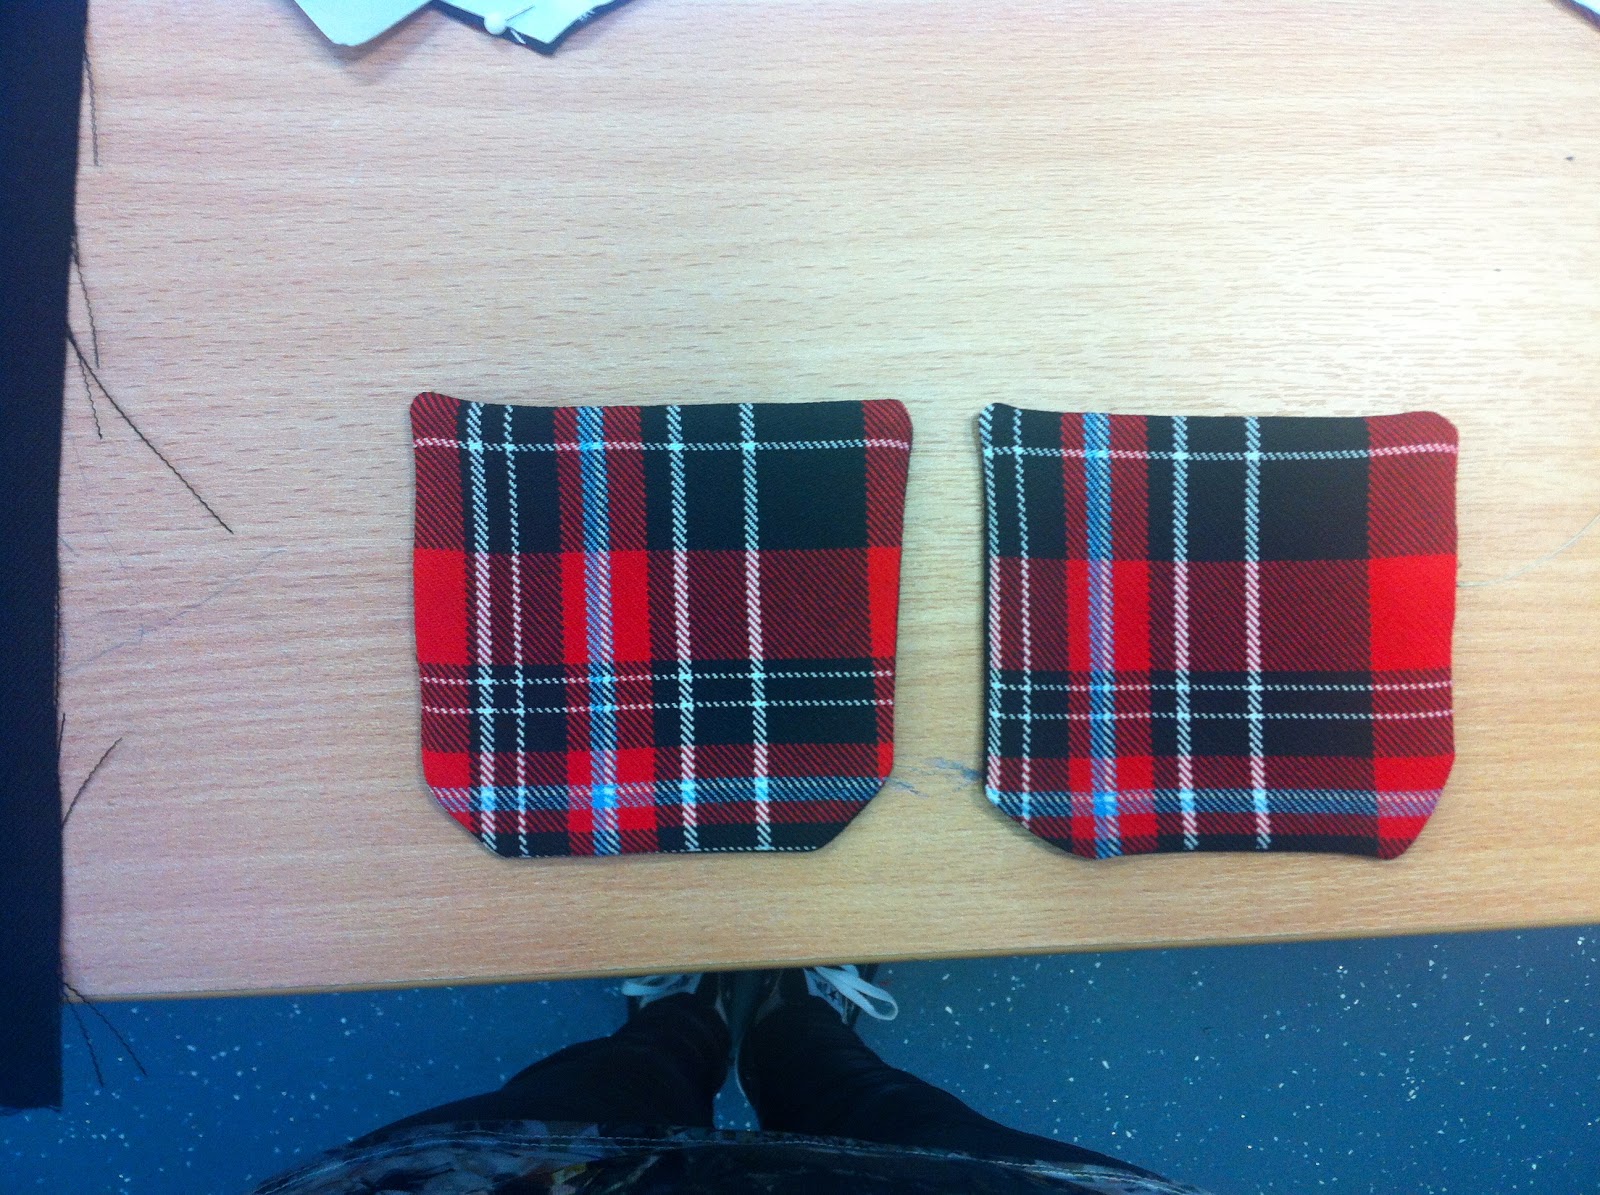
 2. Patch pocket when it came to manufactoring the lined patch pocket we realised that we hadnt cut out the lining, I used just the left over from my black material- to do this I just used the pocket pattern piece and drew around it and cut it out, simples.


To make sure we places the pockets in the right place on the front of the garment we had to pin the pattern piece onto the material and place pins in the corners of the pocket which then allowed me to draw dots with tailors chalk for guide lines


Final pockets


Attaching the pockets- well it was tricky at first but after my 2nd/3rd attempt it got better and I felt a lot happier with them rather than my first attempt!! I have figured from todays lesson that the fabric I have chosen isn't actually the best and isn't really that easy to work with as it pulls quite a lot, so next time I will defiantly consider what fabric I use a lot more and make sure it is more sustainable and hard wearing as nobody wants a dress that falls a part right?!

I got up to stitching of the zip on the back panels but I ran out of time and will have to finish off next week- hopefully Ill have a finished dress then yay.. 1/2 a dress down 5 1/2 to go wooo

oxo

*PLEASE IGNOR MY RUBBISH PHOTOGRAPHY TODAY THE LIGHT AND MY CAMERA OBVIOUSLY DIDNT AGREE!!