Showing posts with label 60s. Show all posts

30 January 2013

Pattern cutting- 6

Topstitch around the skirt


Here I just did a stitch all the way around the skirt to give it a nice finish, it was a normal stitch as close to the edge as possible.

The facing


Firstly you have to attach interfacing to the facing pieces by cutting out the same sizes as your pattern pieces. Then iron them onto the wrong side of the fabric. Once thats complete a simple overlock of all the sides besides the top needs to be done 


When the previous step has been carried out on all 3 pieces need to be attached by a 1 cm seam allowance right down the corners


It should fold up like this and look like this open...


Press open the seams to create an open seam


The next time I do a facing for a garment I am going to put it together in a different way so that it is all levelled out correctly.


The next for the facing is having to attach both corners of the facing to the zips using a half zipper foot


You have to pin the facing to the garment just like attaching the skirt to the dress.

Finished facing


When I put the finished dress on the manikin I noticed that there was a fault with my zip and I think it was because of the manufacturing of my zip as the material wasnt the best to apply it to. To adjust this all I needed to do was unfold the facing a re stitch a bit more the zip under.


Completed facing


Adjusted zip


MY COMPLETED 60's STYLE DRESS


oxo


28 January 2013

Pattern cutting- 5

Attaching the sleeve- Continued


Making sure the sleeve piece is placed and pinned in correctly 

A stitch is needed in the middle of the two loose(seen in previous post)


When done, the loose tacking needs to be unpicked and the top of the sleeve needs to be over locked


 Heres what an attached sleeve looks like


Attaching sides together

Both sides need to be alined together making sure both under arms are join together as this is a vital part of the procedure! When stitching you must make sure the pleat is laying flat down otherwise it will create bulk which is not what we want. The stitch needs to be a 1cm seam allowance all the way along and across the sleeve. 


Next step after the 1cm seam allowance is to over lock the sides


Skirt


When taking the pattern piece off my material I faced a problem of my material not matching up which meant I needed to solve the problem by realigning the fabric and the pattern piece and cutting away any access fabric


Pleats


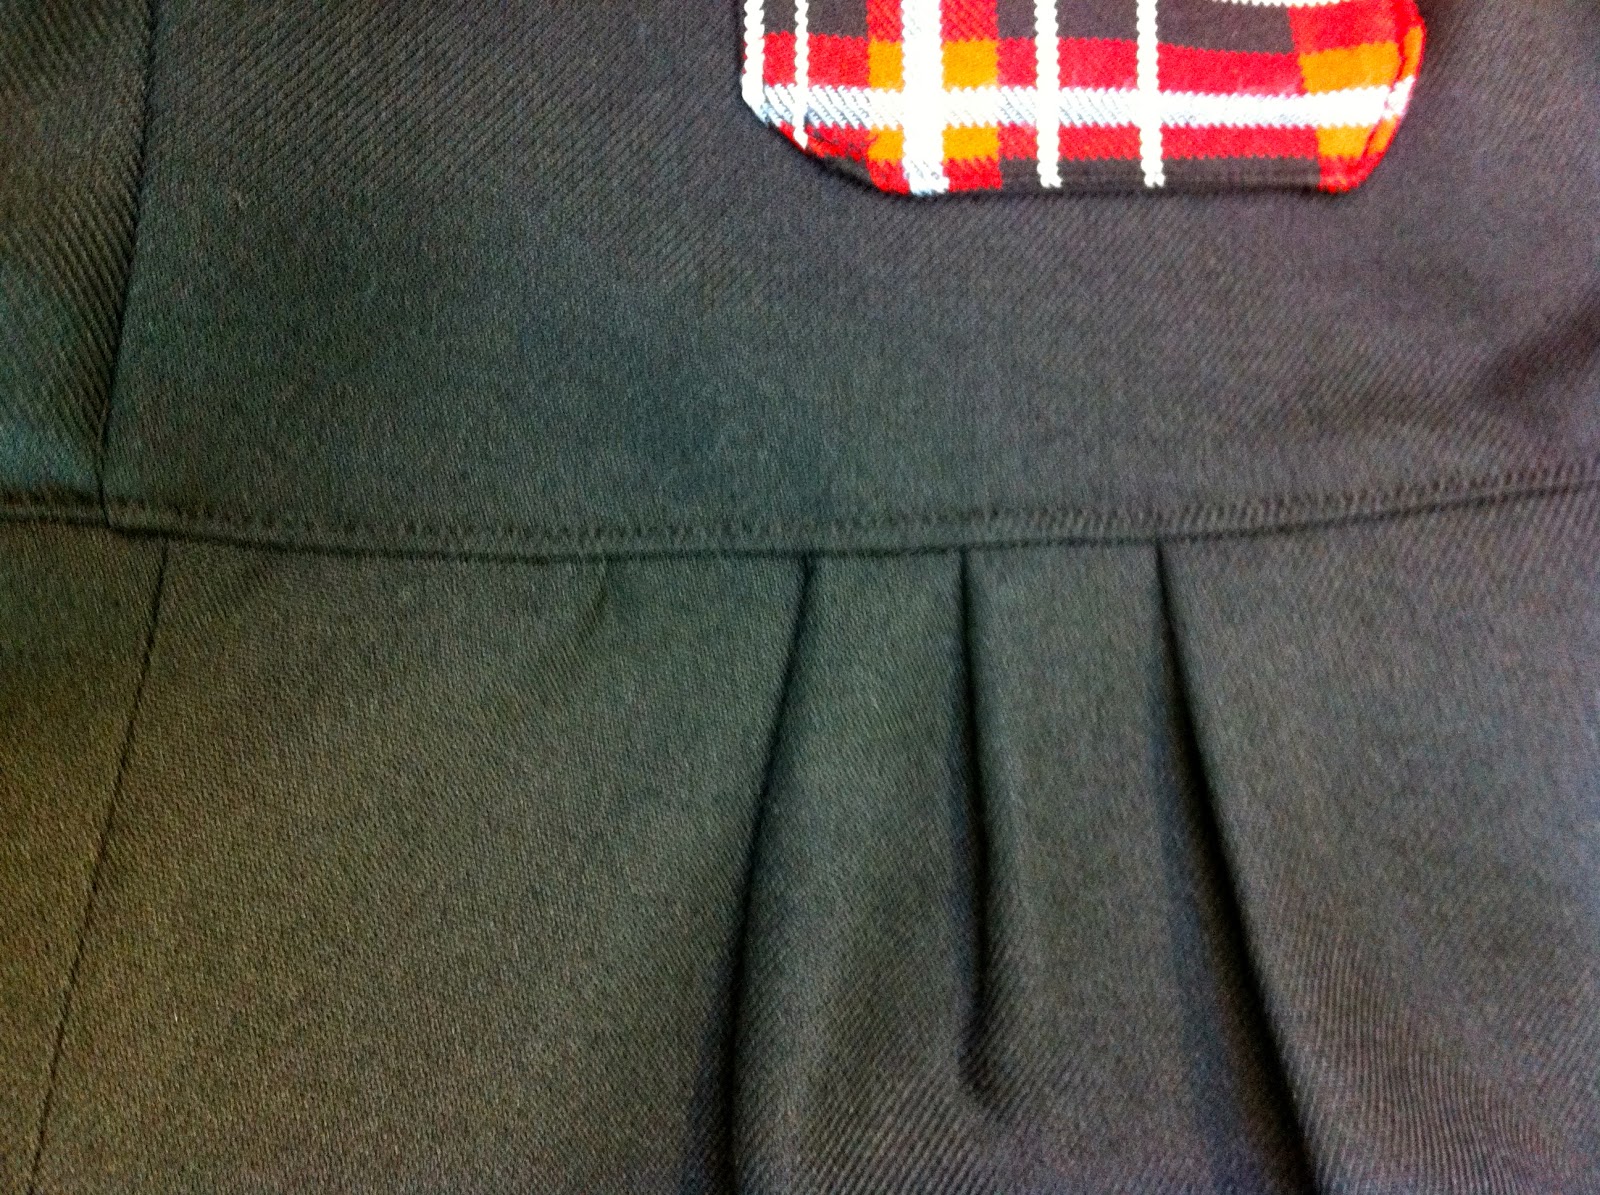
To add the pleats you need to look at your draft of the pattern to find out which way the pleats were folded and join the notches together and place a pin in to hold it in place, you then need to a 0.5cm stitch from the top across the pleats to hold them in place.

Attaching the skirt


Attaching the skirt is easier than it looks! You have to join the two seams together making sure it isn't the zip seam like I did the first time! And pin the fabric to the dress and stitch a 1cm seam all the way around.

Dress so far...


Im happy I chose to add pleats on the back as well as it gives the dress more volume and makes it have more detail which I think works well.

But I think if I was to revisit this dress when patterning I would make the dress pieces smaller so that it was shorter as I think the length is a little long. I think I would also reconsider the size of the pockets as they are ridiculously small and I would like them to be more of a feature. 


Putting a heam on the sleeve


Because my fabric was fraying a lot I had to fold my fabric over 1cm x2 and iron it all the way around on both sides


Then on the inside of the sleeve I had to get close as possible to the edge of the seam and stitch all the way around- to do this you have to go slowly.. trust me!


And a completed sleeve! Now all that is left is the facing and we are completed finally! I feel like I have been saying that for weeks haha.

oxo

18 January 2013

Patter cutting- 4

Inserting the zip

At first I found this a bit tricky because it just wasn't going right but then I realised that the fabric I was using was a bit slippery which meant I needed to put some more tension on to the fabric when attaching the zip in order for it to be placed correctly. This made me realise my fabric choice wasn't quite right for my first dress.


If I was inserting my zip correctly on a easy fabric you wouldn't be able to see the over locking but as the fabric was slippery the only way to get it straight was to place it like I have done.

Attaching the shoulders

I found this task simple as all I needed to do was over lock the four shoulder pieces separately and leave a 1 cm seam allowance to create an open seam.


Attaching the sleeves

Next was this tricky task that took me a while to get my head around!!(I think this was because I wasnt feeling a 100% myself and its probably very simple haha). As we need ease on the sleeve to allow you to move your arms we needed to create gathering and to do this we had to stitch two lines 0.5 cm away from each other at the top of the sleeve pattern- making sure NO back tacking is taking place and leaving lots of access thread!! This is to allow you to pull the thread to create a gathering effect.


I placed my sleeve on the manikin to make sure it fell correctly before I pinned it to my garment ready to stitch in the middle of the two 0.5cm stitches. This is are still a work in progress....


oxo