Showing posts with label Dress. Show all posts

19 September 2013

VB


THIS DRESSSS!!!!!

Yet so simple yet so chic! This dress is taken from Victoria Victoria Beckham SS14. She looks so amazing in it and the colour and fabric choices are both amazing. The shape is so simple and the dress would be easy to manufacture... its ever so tempting to have ago and put my own spin on it


oxo

23 March 2013

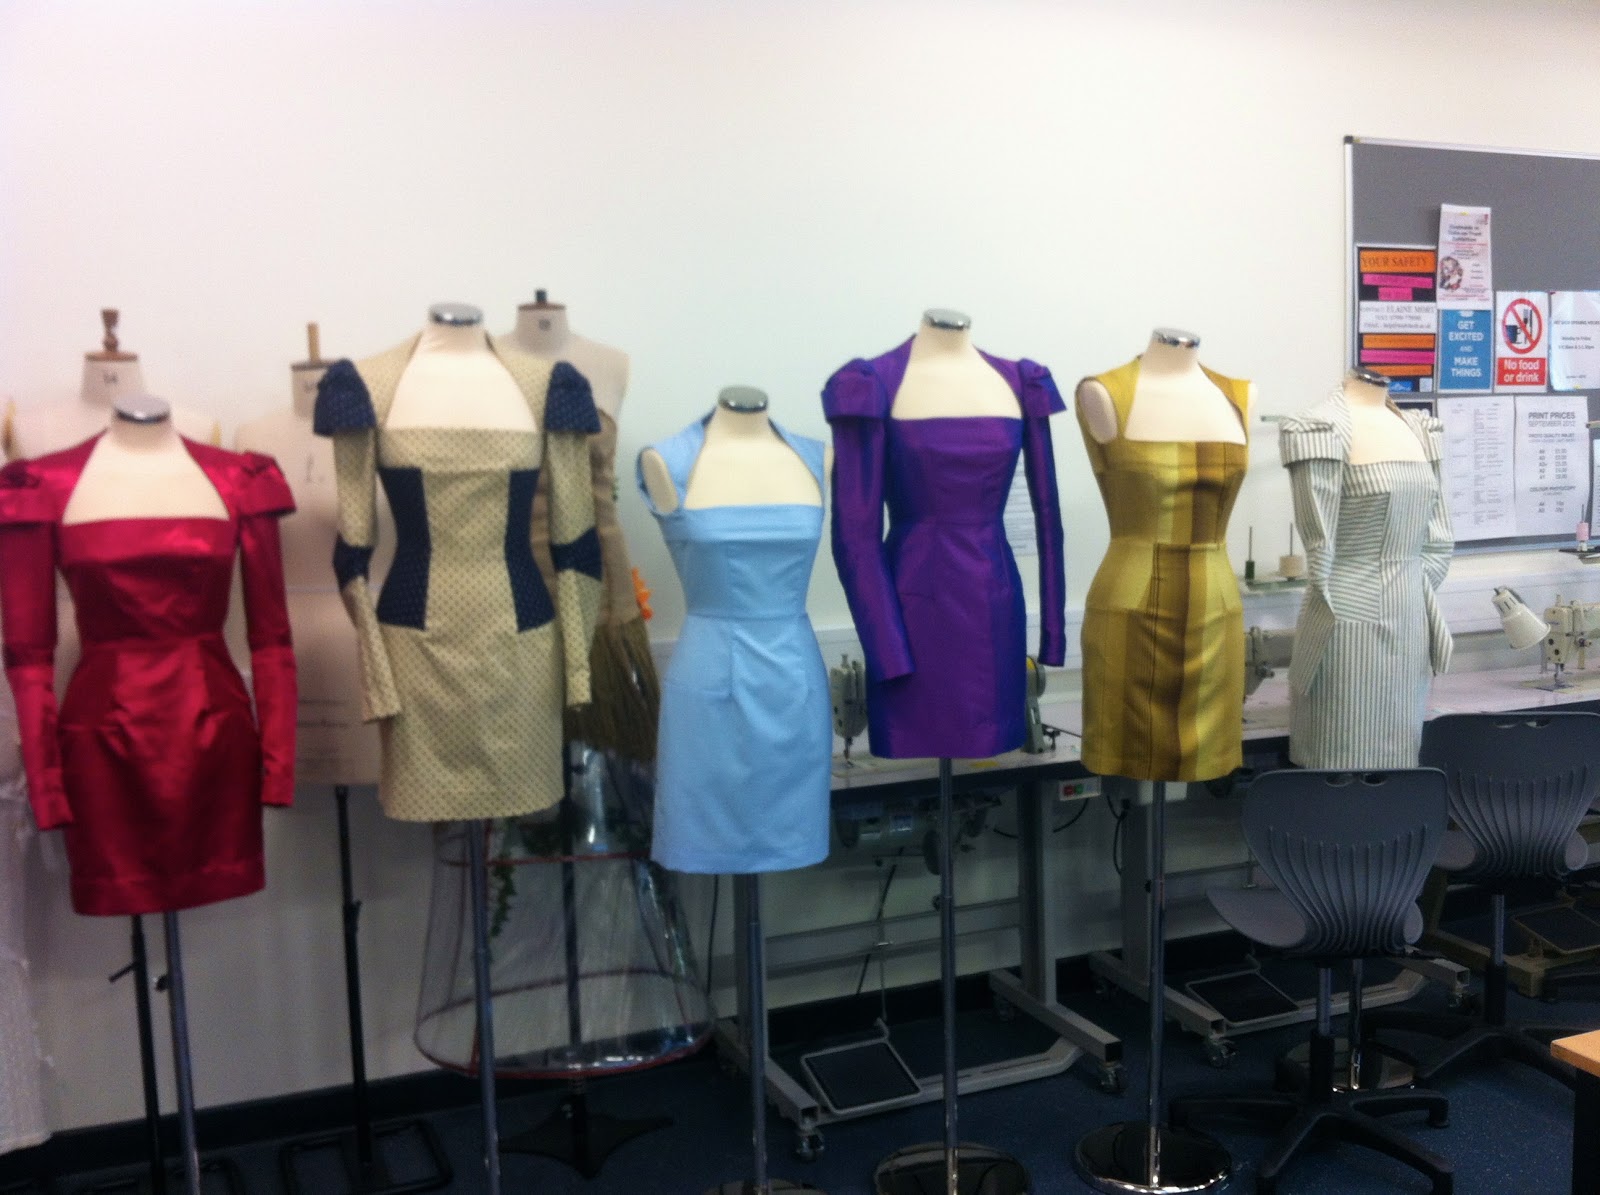
Giles Deacon display


In the main reception at college all of our Giles Deacon dresses are on display with the photo shoot images! It all looks really good together and we have all done a great job! The competition winner is announced on Monday so fingers crossed one of us wins.

oxo

2 March 2013

Pattern cutting- 9


ITS FINISHED!!! 
Well kind of all I have left to do is the hems and rejig the hock and eye. Im really pleased with the outcome of this dress as it was a challenge as some points. I think with my pattern cutting I need to try and to a pattern by myself as I think it will build my confidence and allow me to be more independent. 

So coming up I have a shoot to go along with this dress and Im really looking forward to it! 

oxo

6 February 2013

Pattern cutting- 8


The fabric I have chose to the make the Giles Deacon dress is a purple taffeta, Its really pretty in different lights as sometimes it looks purple, pink or even blue! I think it will be great for the photo shoot.


First of all I laid out the pattern pieces on the fabric 


Because the good sides and bad sides of the fabric weren't obvious I have to make the wrong side visible with tailors chalk 


Adding in the dart. There is a really small tricky one which is above the seam allowance at the bottom of the pattern peice and you cant go over the edge which really took some patience to do


Over locking of the two sides  


Then attaching the two sides with a 1cm seam allowance


We then had to carry out the task of adding in the bodice panels, which really confused me at times and I really had to concentrate and think about! Once I have done this task I few times Im sure it will come to me a lot more naturaly 


Over locking all the raw edges after the bodice was complete


Once the garment was constructed up to this stage it needed to e pressed on the iron making sure all the edges were pressed in the right places

oxo


29 January 2013

Inspiration on the stand- 3


Some on Maison Martin Margielas deconstruction collection

In a couple of posts back I mentioned deconstruction and how looking at Victoria buildings and there texture inspired me onto deconstruction. I have also looked at Maison Martin Margiela's work to gather together some inspiration as his work is very over sized and used deconstruction. So today i decided to experiment, I got my hands on a plain white shirt (the same as the one above) and off I started unpicking it. once it was back its originally pattern pieces I began to mess about and place it on the stand creating different shapes and different garments, I really enjoy doing this task as you didst know what to expect or have any idea what the outcome would be like. I would like to continue experimenting with this method. 


My favourite


I like the way the material drapes on this one


oxo

18 January 2013

Patter cutting- 4

Inserting the zip

At first I found this a bit tricky because it just wasn't going right but then I realised that the fabric I was using was a bit slippery which meant I needed to put some more tension on to the fabric when attaching the zip in order for it to be placed correctly. This made me realise my fabric choice wasn't quite right for my first dress.


If I was inserting my zip correctly on a easy fabric you wouldn't be able to see the over locking but as the fabric was slippery the only way to get it straight was to place it like I have done.

Attaching the shoulders

I found this task simple as all I needed to do was over lock the four shoulder pieces separately and leave a 1 cm seam allowance to create an open seam.


Attaching the sleeves

Next was this tricky task that took me a while to get my head around!!(I think this was because I wasnt feeling a 100% myself and its probably very simple haha). As we need ease on the sleeve to allow you to move your arms we needed to create gathering and to do this we had to stitch two lines 0.5 cm away from each other at the top of the sleeve pattern- making sure NO back tacking is taking place and leaving lots of access thread!! This is to allow you to pull the thread to create a gathering effect.


I placed my sleeve on the manikin to make sure it fell correctly before I pinned it to my garment ready to stitch in the middle of the two 0.5cm stitches. This is are still a work in progress....


oxo

9 January 2013

Pattern cutting-3

Continuing our 60s dress was todays task which meant I was ready to start manufacturing as I had cut out all my pattern pieces from my material.


Before cutting the pieces out I had to pin the pattern in the right places on the material.

 Manufacturing

1. Sewing the dart- to do this it meant joining the two notches together and stitching down towards the dot drawn from where the pin was place on the pattern piece making sure you come of the fabric with the stitching at the dot point.


 Finished darts


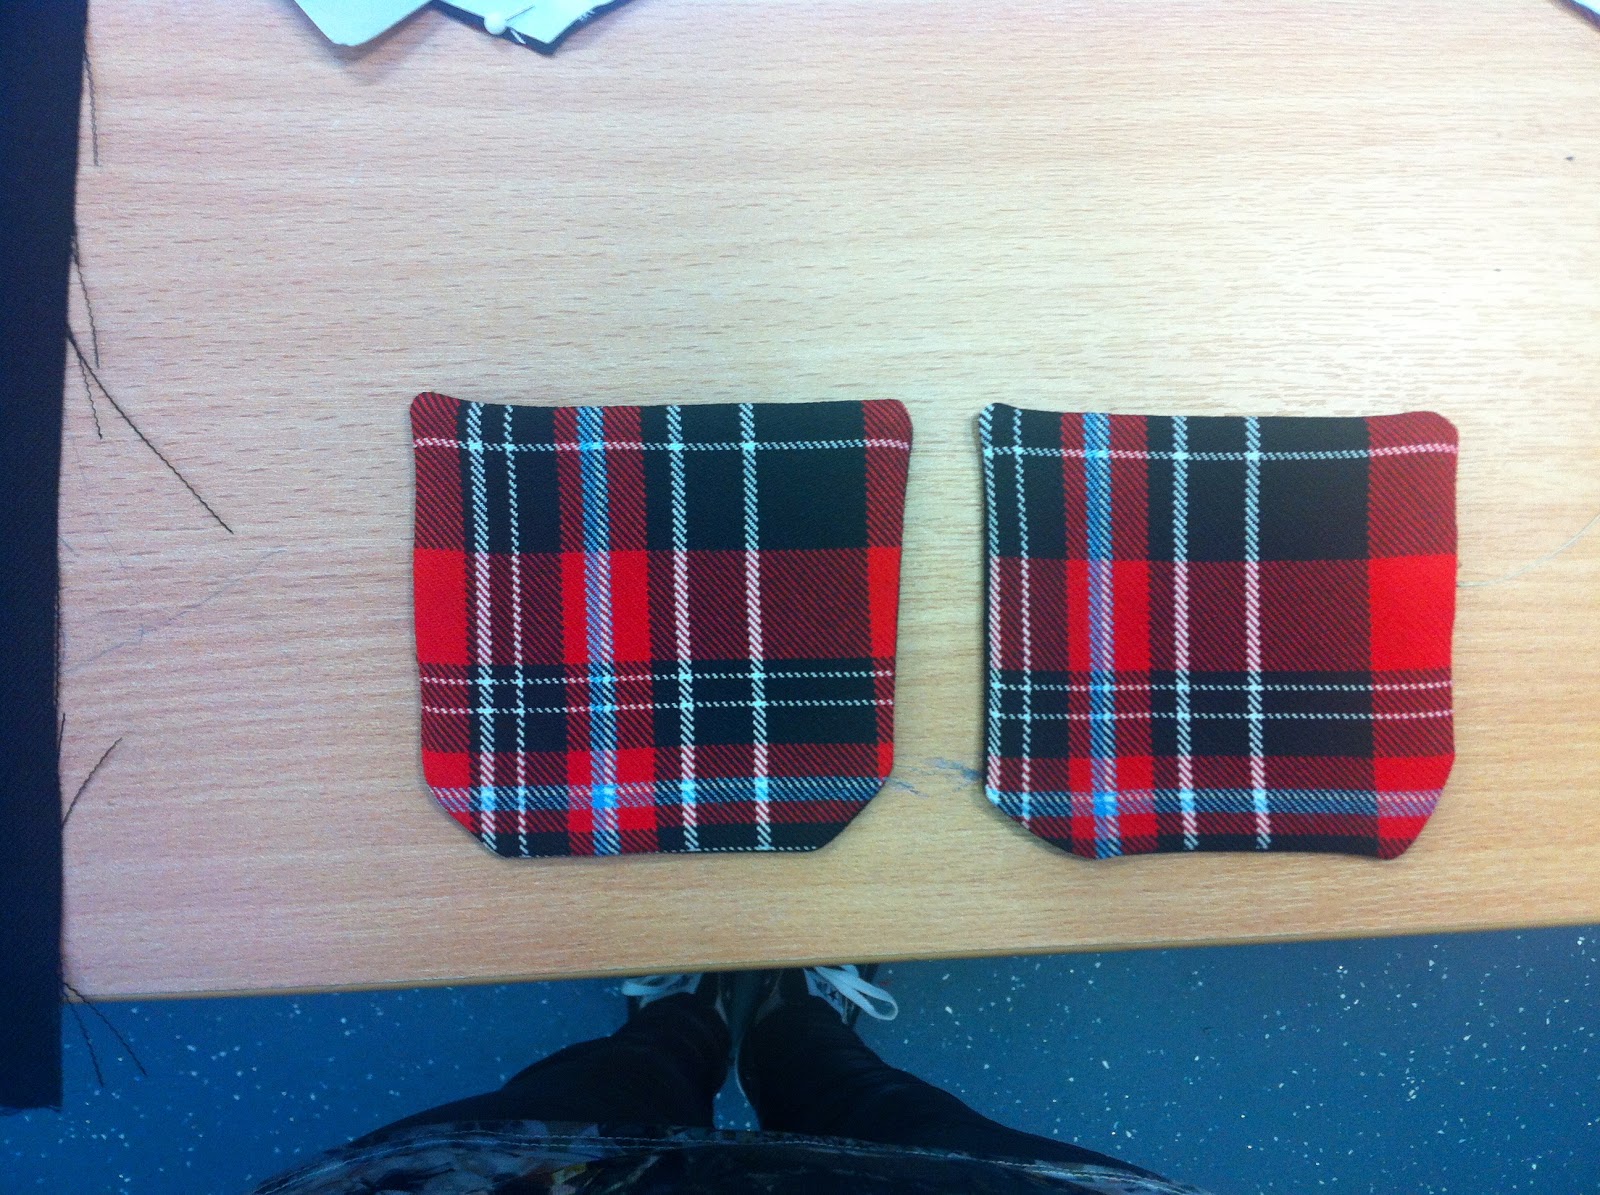
 2. Patch pocket when it came to manufactoring the lined patch pocket we realised that we hadnt cut out the lining, I used just the left over from my black material- to do this I just used the pocket pattern piece and drew around it and cut it out, simples.


To make sure we places the pockets in the right place on the front of the garment we had to pin the pattern piece onto the material and place pins in the corners of the pocket which then allowed me to draw dots with tailors chalk for guide lines


Final pockets


Attaching the pockets- well it was tricky at first but after my 2nd/3rd attempt it got better and I felt a lot happier with them rather than my first attempt!! I have figured from todays lesson that the fabric I have chosen isn't actually the best and isn't really that easy to work with as it pulls quite a lot, so next time I will defiantly consider what fabric I use a lot more and make sure it is more sustainable and hard wearing as nobody wants a dress that falls a part right?!

I got up to stitching of the zip on the back panels but I ran out of time and will have to finish off next week- hopefully Ill have a finished dress then yay.. 1/2 a dress down 5 1/2 to go wooo

oxo

*PLEASE IGNOR MY RUBBISH PHOTOGRAPHY TODAY THE LIGHT AND MY CAMERA OBVIOUSLY DIDNT AGREE!!

19 December 2012

Pattern cutting- 2

So carrying on from last week (see in this post) we were continuing to pattern for our 60s inspired dress. I had finished patterning the basics and was onto the features.

Pleats in my skirt


1. This is where I was up to from last week, which meant I needed to finish off the 3rd pleat and do a final pattern for the front of the skirt and start the back pattern.


 2. The finished pleats. To create the pleats you have to draw out the skirt pattern with your pleats drawn in, cut down the line of the first pleat, leave a 1.5cm gap and draw a line. Then fold over the pleat onto the line you have drawn and do that 3 times. 


3. Once the pleats were complete we needed to draw out the final pattern pieces which meant we needed to iron out the pleats so that the paper is flat, by doing this it allows you to get the right measurements. To get the final pattern we had to trace around the pattern piece then add a 1cm seam allowance.


4. When drawing out the pleats we needed to make sure we didn't draw every line, to make sure I never did that I labelled them with stars. But without the starts I remembered which lines we needed to draw by thinking  'just the ones we stuck down' haha.


 5. When we first started patterning I decided I would have pleats in the back of my skirt as well, that meant I had to repeat that task again to the get the same outcome for my back. This is what my final pieces look like.

Neck facing 


6. The next feature of the garment we needed to do was the neck facing, which is used to make the neckline look more slick and tidy and its also used on the back of garments. To pattern for one of these it's really simple all you need to do is draw a curved line 5cm down from the neck line making sure it joins with the shoulder. 


7. It's really that simple!! then you have to trace it to get a final patter piece and add a 1cm seam allowance around both the corners and the top leaving the bottom line free of a seam allowance, then you need to go a head and add you 3 lines of information- we did this by adding our names, what the pattern piece was called and how many times we needed it cutting out. We also needed to makes sure we had added a grain line and to make sure if we needed C.F line we put one in. 

Sleeve


8. The last feature we needed to pattern was of course the sleeve. To do this it meant we needed to draw around a sleeve block. To start with we needed to check if the sleeve would fit our pattern, once we had drawn around the outline of the block then we needed to draw in the underarm line (the 1st line) and then the elbow line (3rd line) making sure we had traced in the notches. Next came choosing how long we wanted the sleeve to be, I decided I didn't want my sleeve to be a little cap sleeve I wanted it to be a little bit longer so I draw my line at 8cm from the underarm line. To get a final pattern for this we had to trace the shape of the sleeve to the line we had drawn (mine being the 2nd line) then adding a 1cm seam allowance all the way around and putting the correct information on to it. And voilà, my first dress pattern!!!!! Now for the cutting..


Cutting the pattern

When choosing my fabric I had in mind using a pattern for some of the features of my dress for two reasons 1 being, I want them to stand out and 2 being, I don't want to be boring haha. So with these thoughts in the back of my head when I seen this tartan I couldn't leave it behind as recently I have a love for everything tartan. Literally everything I own seams to have the pattern on from my trousers to my shoes to my scarf (don't worry I don't clash them all together).


9. Here is one of my neck facing pattern pieces pinned to the fabric I am using. When cutting out a patterned piece you need to make sure the peiece is pinned down in the right place making sure it is properly flat, also you need to look out for the information wrote down on the piece and follow the instructions. A big thing also is to save fabric!!! It isn't CHEAP. SO by placing the pattern pieces on to the fabric in a way so it saves helps a lot in industry as it brings the manufacturing price down. 

  
10. After I had cut C.F neck facing out from pattern piece, I placed my other pieces on in a way that has left me with at least half of my fabric left! Which makes it worth while as I can now go onto use it for something else.


I got up to the point of pinning down the final dress pieces so after the christmas holidays I will continues to cutting out the pieces and start manufacturing (exciting!!)

oxo