
Continuing our 60s dress was todays task which meant I was ready to start manufacturing as I had cut out all my pattern pieces from my material.

Before cutting the pieces out I had to pin the pattern in the right places on the material.
1. Sewing the dart- to do this it meant joining the two notches together and stitching down towards the dot drawn from where the pin was place on the pattern piece making sure you come of the fabric with the stitching at the dot point.


Finished darts

To make sure we places the pockets in the right place on the front of the garment we had to pin the pattern piece onto the material and place pins in the corners of the pocket which then allowed me to draw dots with tailors chalk for guide lines

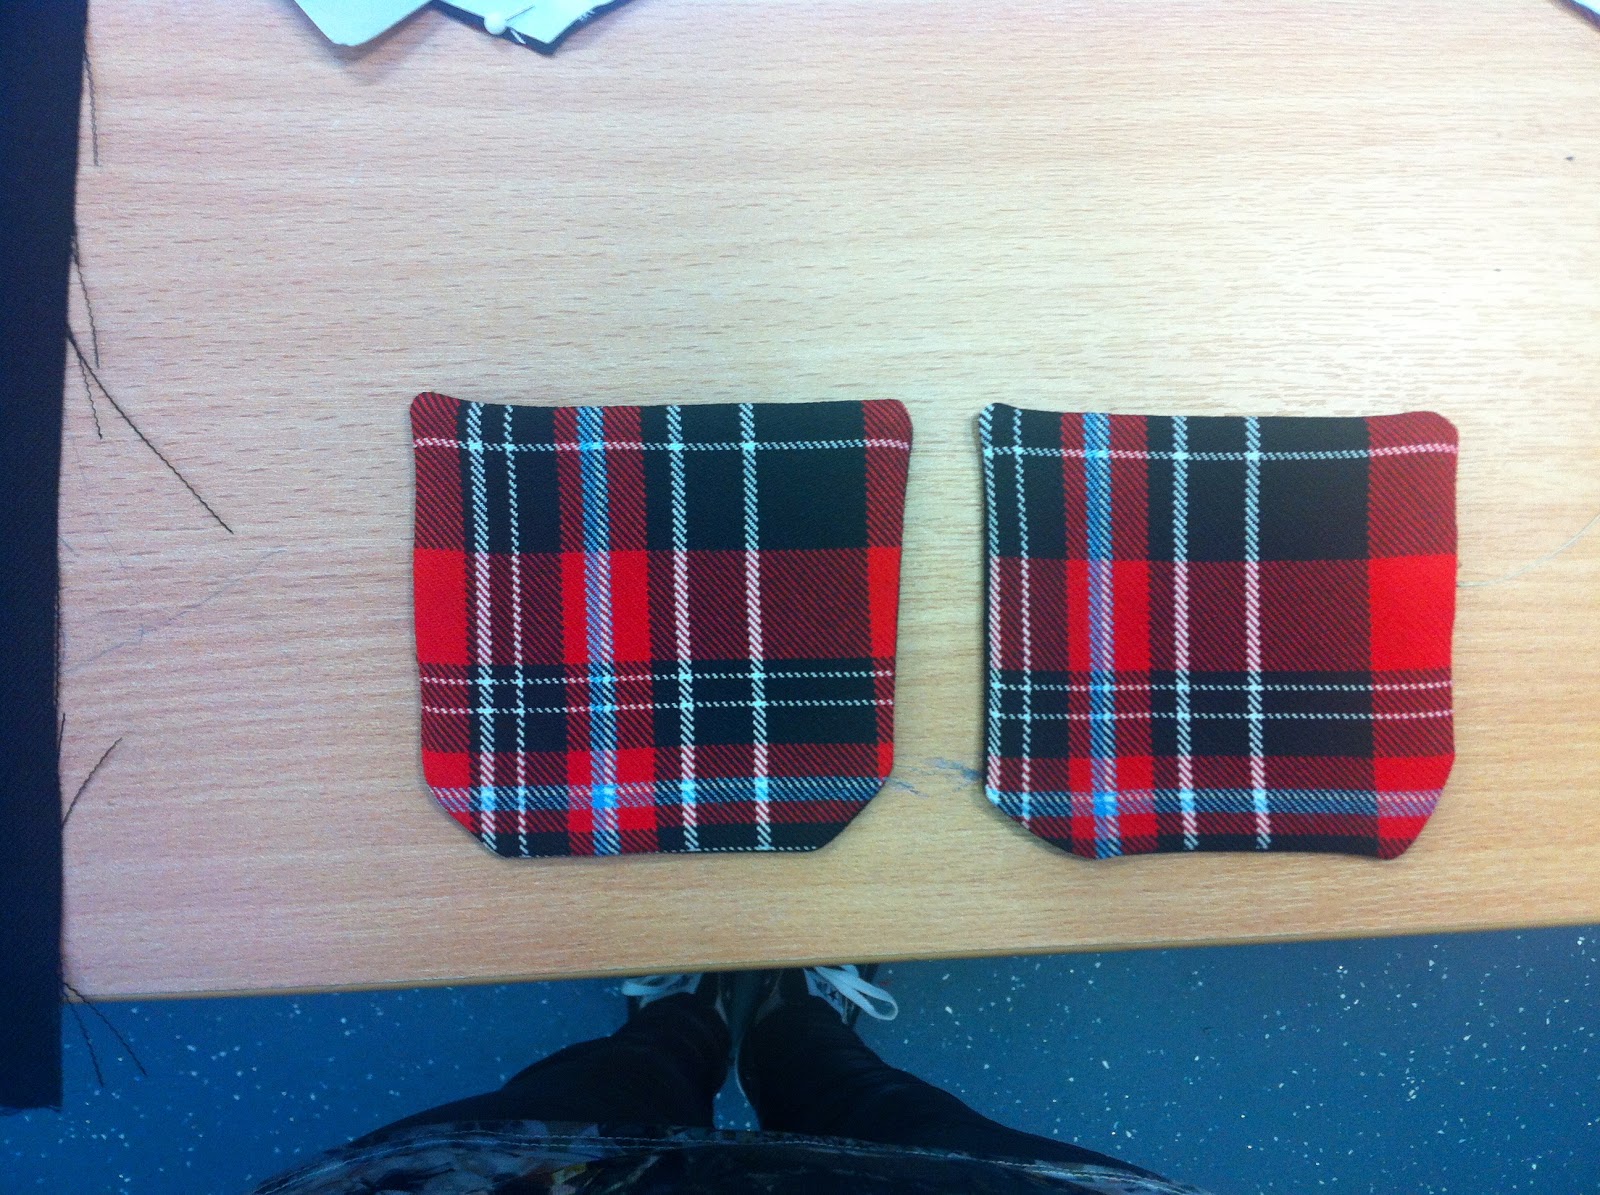
Final pockets

I got up to stitching of the zip on the back panels but I ran out of time and will have to finish off next week- hopefully Ill have a finished dress then yay.. 1/2 a dress down 5 1/2 to go wooo
oxo
*PLEASE IGNOR MY RUBBISH PHOTOGRAPHY TODAY THE LIGHT AND MY CAMERA OBVIOUSLY DIDNT AGREE!!